A sagging modern interior door is one of those subtle home problems that quietly grows into a daily annoyance. It sticks, scrapes, refuses to latch, and sometimes even damages your flooring. If you’re dealing with this issue, you’re not alone—and the good news is that you can fix it yourself without expensive repairs. For premium door solutions and inspiration, explore.
Why interior doors start sagging
Before fixing the problem, it helps to understand why it happens. A sagging door is usually not a single issue but a combination of factors that gradually shift the alignment.
Over time, materials expand and contract, screws loosen, and gravity does its quiet work. Even a well-installed door can begin to shift after years of use. This is especially noticeable in homes where doors are frequently opened and closed, creating constant stress on the hinges.
Common causes of a sagging door
- Loose hinge screws
- Worn-out hinge holes
- Heavy door weight over time
- Warped door frame
- Improper initial installation
In many homes, the issue starts invisibly. A slightly loose screw turns into a misaligned hinge, and eventually the door begins to drag. If you catch the problem early, the fix becomes faster and easier.
A sagging door is rarely broken—it is simply out of alignment, and alignment can always be corrected
Pay attention to early signs such as uneven gaps or light scraping sounds. These small indicators are your opportunity to fix the problem before it worsens.
Tools you will need
Fixing a sagging interior door does not require a full workshop. Most tools are likely already in your home.
What matters more than having many tools is knowing how to use them properly. Even a simple screwdriver, when used carefully, can make a precise adjustment that completely restores alignment.
Basic tools checklist
- Screwdriver or drill
- Longer wood screws (2–3 inches)
- Toothpicks or wooden dowels
- Wood glue
- Hammer
- Level
- Shims or cardboard pieces
Keep your tools organized and within reach. Working calmly and methodically helps avoid mistakes such as over-tightening screws or misplacing hinges.
If you want cleaner results, use a manual screwdriver for final tightening—it gives better control than a power drill and reduces the risk of stripping screws.

Step-by-step process to fix a sagging interior door
Now let’s move into the core of the guide. Follow these steps carefully to restore your door’s position and function.
Approach each step like a sequence, not a guess. Test the door after every action. This allows you to understand exactly what change produced the result.
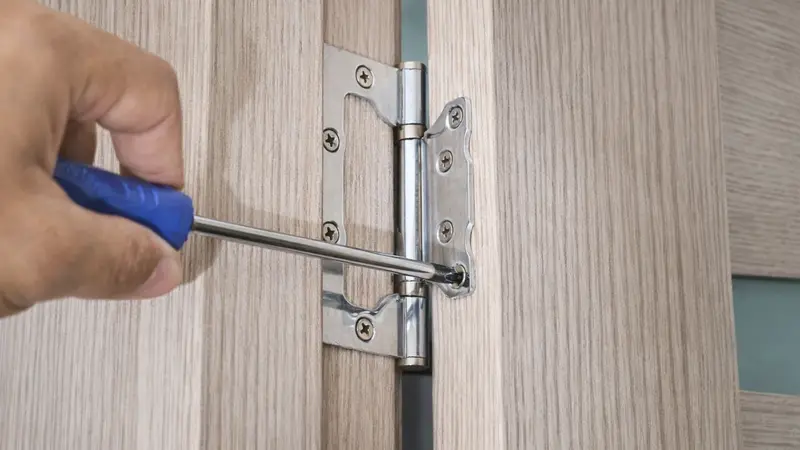
Step 1 Inspect the hinges
Start with a close look at the hinges, especially the top hinge. This is where most sagging originates.
- Open the door halfway
- Lift gently from the bottom
- Observe movement in the hinges
- Check for visible gaps or loose screws
If the top hinge shifts when you lift the door, you’ve found the main problem.
Take a moment to listen as well. A slight creak or movement sound often reveals looseness even before it becomes visible. Your hands and ears together can diagnose more than just your eyes.
Step 2 Tighten existing screws
Sometimes the solution is surprisingly simple.
- Tighten all hinge screws firmly
- Focus especially on the top hinge
- Avoid overtightening to prevent stripping
After tightening, test the door again. In many cases, this alone resolves minor sagging.
Work slowly and evenly. Tighten screws in sequence rather than randomly—this helps the hinge settle correctly against the frame. If one screw spins freely, that’s a sign the hole is worn and needs reinforcement.
Reinforcing hinge screws for a lasting fix
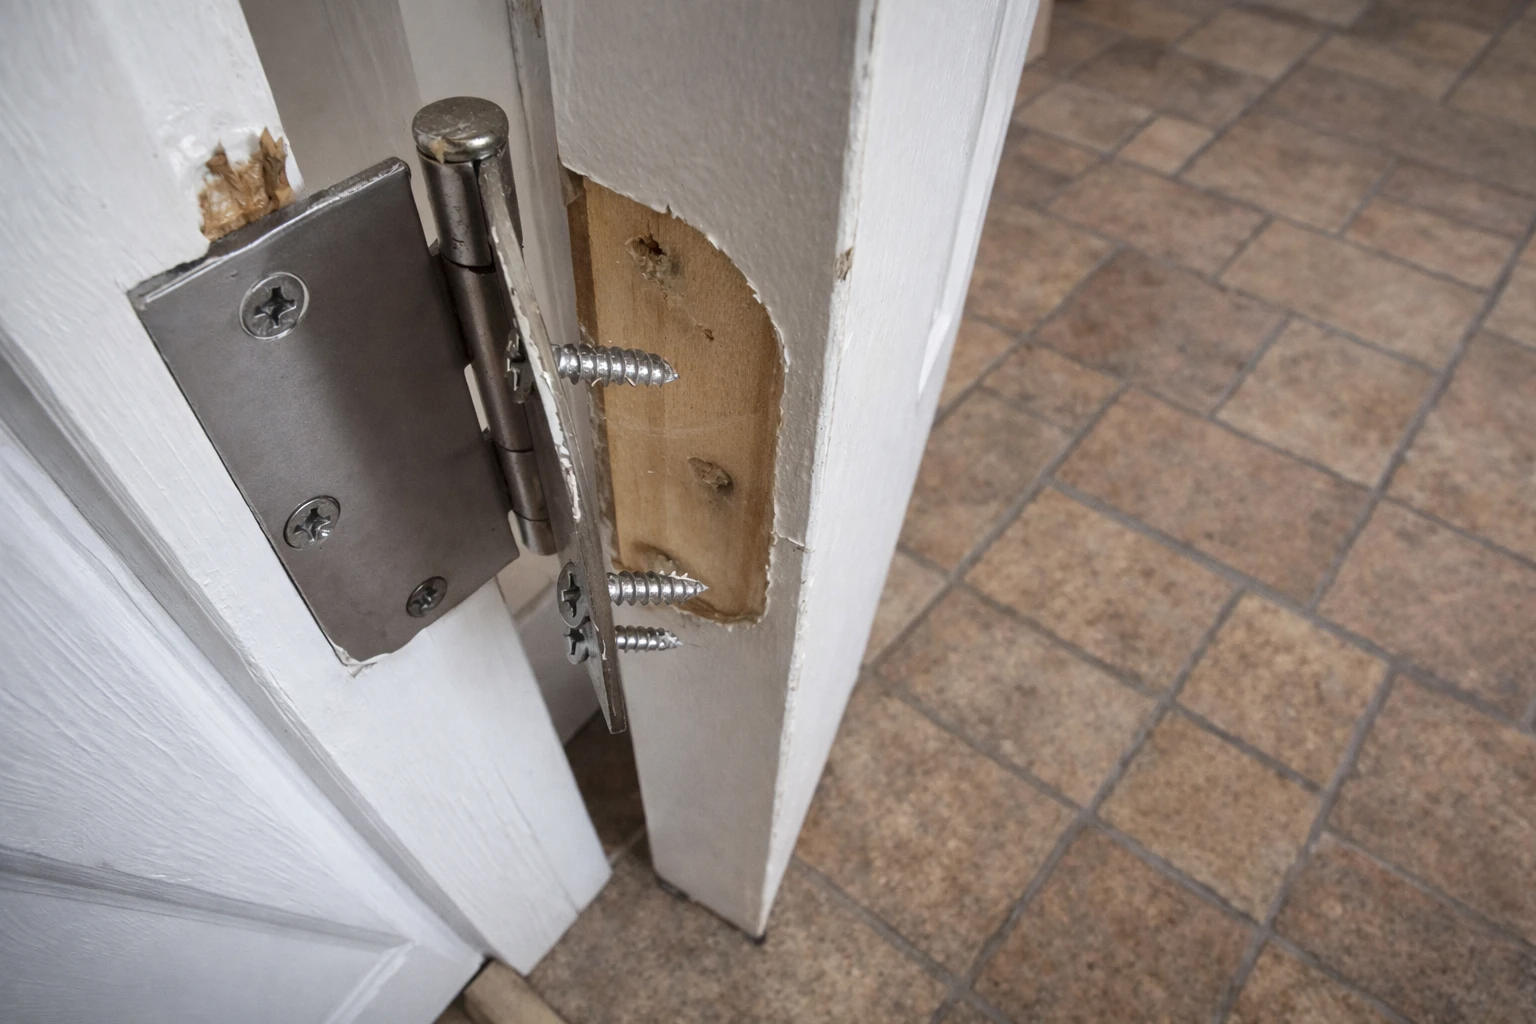
If tightening doesn’t solve the issue, the screw holes may be worn out. This is extremely common in older doors.
At this stage, you are not just fixing the symptom—you are restoring the structure. This is where the repair becomes more durable and long-lasting.
Step 3 Fill stripped screw holes
- Remove the loose screws
- Insert toothpicks or wooden dowels into the holes
- Apply wood glue
- Let it dry for 1–2 hours
- Reinsert screws tightly
This technique restores grip and allows screws to hold firmly again.
Choose hardwood toothpicks or dense wooden dowels for better strength. Soft wood compresses easily and may not provide lasting support. A snug fit inside the hole makes all the difference.
Small repairs like reinforcing screw holes can extend the life of your door for years without replacement
Step 4 Use longer screws for deeper support
Standard screws often fail because they only anchor into the door frame surface.
- Replace top hinge screws with 2–3 inch screws
- Drive them into the wall stud behind the frame
- Ensure the hinge pulls tightly into position
This step physically lifts the door back into alignment and is one of the most reliable fixes.
Drive the screw slowly and watch how the door shifts. You will often see the door rise slightly as the screw tightens. Stop once alignment improves—over-tightening can pull the hinge too far and create a new imbalance.
Adjusting the door alignment precisely
Sometimes the issue goes beyond screws. Fine adjustments are needed to achieve perfect alignment.
Precision is what separates a quick fix from a professional result. Even a millimeter matters when it comes to door movement.
Step 5 Adjust hinge position slightly
- Loosen hinge screws slightly
- Insert a thin shim behind the hinge
- Retighten screws
- Test door movement
Shimming changes the angle of the door, correcting its position without major modifications.
Use thin materials like cardboard or veneer. Start with the smallest possible thickness and increase only if necessary. Subtle changes are easier to control and reverse.
Step 6 Check the door frame alignment
- Use a level to inspect the frame
- Look for uneven gaps around the door
- Identify where the door rubs
- Adjust hinges accordingly
A well-aligned door should have even spacing on all sides.
Stand back and visually inspect the door from a distance. Sometimes alignment issues are easier to see when you are not too close. Symmetry is your goal.
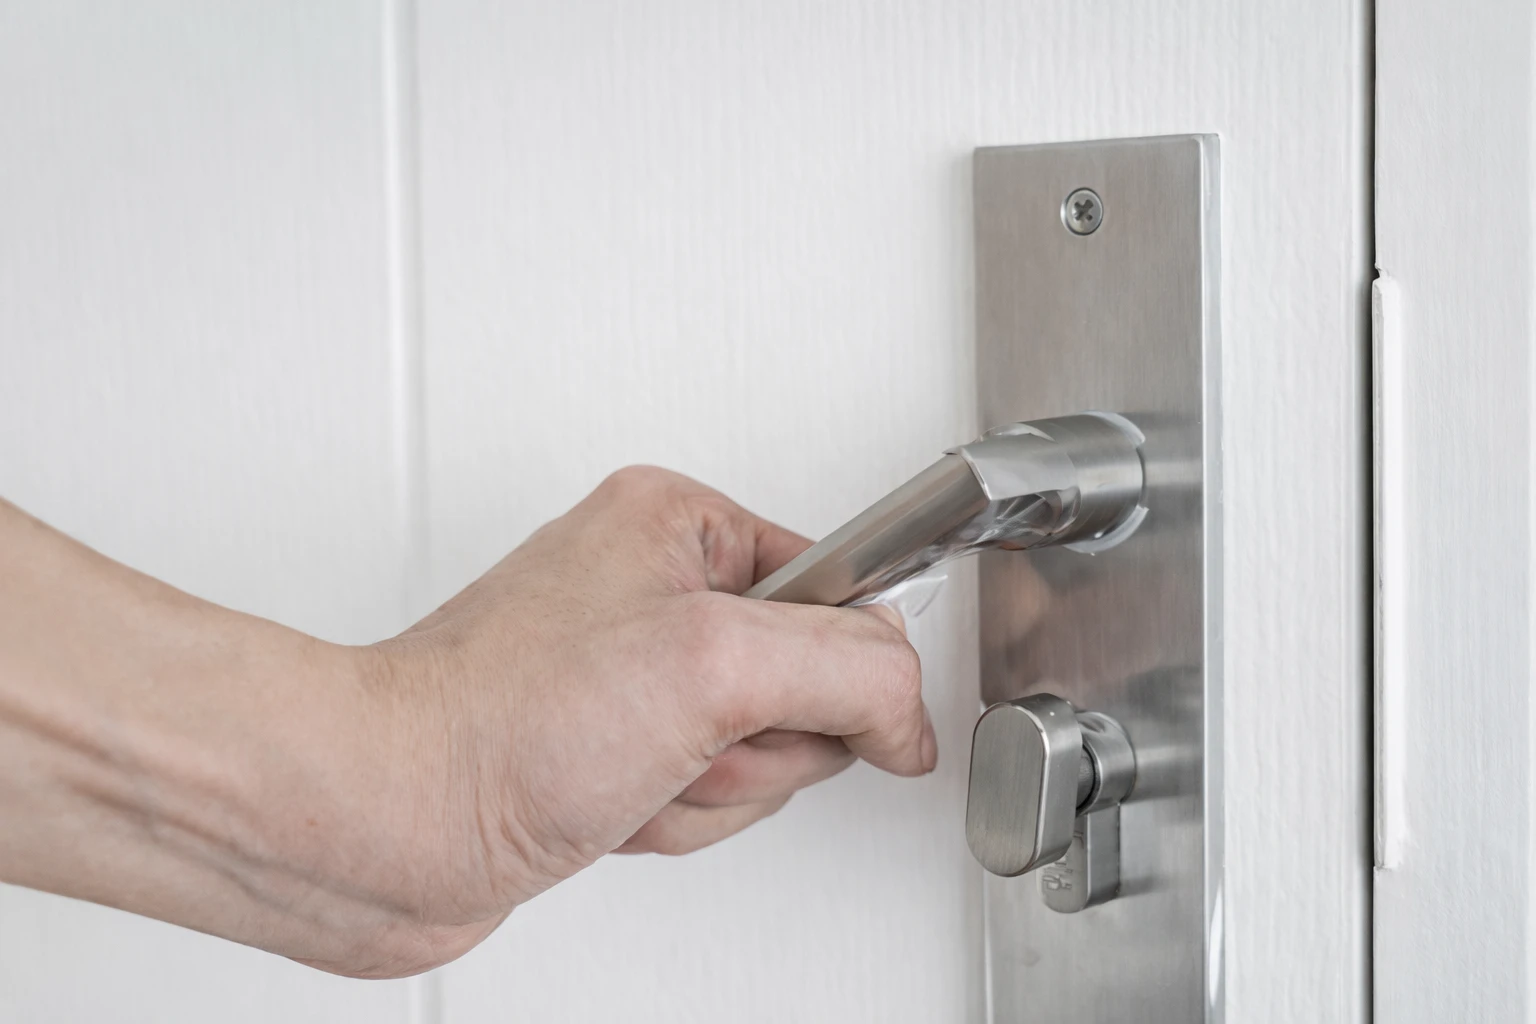
When the door still does not close properly
If your door still sticks or won’t latch, there may be additional factors at play.
At this point, think of the door as a system. Hinges, frame, latch, and even air humidity all interact. Fixing one part may reveal another small issue.
Additional fixes to consider
- Sand the edge of the door slightly
- Adjust the strike plate position
- Replace damaged hinges
- Check for humidity-related swelling
These adjustments fine-tune the result and ensure smooth operation.
When sanding, remove only a minimal layer and test frequently. It is easy to remove more material, but impossible to put it back. Patience here leads to a cleaner, more professional finish.
Precision matters more than force when fixing a sagging door—small adjustments create perfect results
Preventing future sagging problems
Once you fix the issue, it’s important to prevent it from returning.
Maintenance is what keeps your repair effective. A door that is checked occasionally will rarely develop serious problems again.
Simple prevention tips
- Periodically check hinge tightness
- Avoid slamming doors
- Use quality hinges for heavy doors
- Maintain stable indoor humidity
Make it a habit to inspect your doors every few months. A quick turn of a screwdriver can prevent a full repair later.
Also consider upgrading hardware if your door is heavy. Strong hinges distribute weight better and reduce long-term stress on the frame.
Final thoughts on fixing a sagging interior door
Fixing a sagging interior door step-by-step is not just a repair task—it’s a satisfying restoration of balance in your home. Each adjustment brings the door back to life, from a frustrating obstacle to a smooth, silent part of your daily routine.
Take pride in the process. When you correct alignment with your own hands, you gain a deeper understanding of how your home functions. This knowledge stays with you and makes future repairs faster and easier.
With the right approach, even a severely sagging door can be corrected using basic tools and a bit of patience. Whether you tighten screws, reinforce hinges, or fine-tune alignment, every step contributes to a stable and long-lasting result.
And once you’ve done it yourself, you’ll never look at a crooked door the same way again—you’ll see a simple problem with a clear solution.